If you have tile in your kitchen or bathroom, you’ve seen grout! It’s the hard stuff squeezed into the lines between the tiles.
A lot of people think grout works like a rubber raincoat that stops all water. But here’s the big secret: most grout is actually a hard sponge.
Here is what you need to know about how grout handles water, why it leaks, and how to fix it like a pro.
1. Is Grout Waterproof? (The Short Answer)
The short answer is no, standard grout is not waterproof.
- Standard Cement Grout: This is the most common type of grout. It is made of cement and sand mixed with water. When it dries, it leaves behind millions of microscopic holes. Water can easily soak right through it.
- Epoxy Grout: This is a special type of grout made from strong resins instead of cement. It cures hard like plastic. Epoxy grout IS 100% waterproof!
Pro Rule: Grout fills the gaps between tiles and is the finishing touch, but it does not keep the room dry on its own. A real tile job uses a hidden waterproof layer underneath the tile (like a rubber liner or special waterproof membrane) to catch any water that sneaks past.
2. The 4 Types of Grout (Quick Comparison)
| Grout Type | Does It Soak Up Water? | Needs Sealer? | Best Place to Use It |
| Sanded Cement | Yes (High) | Yes | Floors and wide tile gaps |
| Unsanded Cement | Yes (High) | Yes | Walls and skinny tile gaps |
| Polymer Cement | A Little Bit (Medium) | Recommended | Backsplashes and light moisture |
| Epoxy Grout | No (0%) | NO | Showers, steam rooms, and pools |
3. What Happens If Water Gets In?
When water soaks through unsealed cement grout, it causes four big problems:
- Hidden Wood Rot: Water travels past the grout and rots the wood subfloor or drywall behind the wall.
- Mold and Mildew: Trapped water turns dark and damp—the favorite home for smelly mold.
- White Chalky Stains (Efflorescence): As water evaporates out of the grout, it leaves behind crusty white salt minerals on top.
- Permanent Stains: Unsealed grout drinks up dirty mop water, soap, and spill stains like a paper towel.
4. How to Waterproof Your Grout (Step-by-Step)
You can’t turn cement into epoxy, but you can fill its tiny sponge holes using a special liquid called grout sealer. Here is how to do it right:
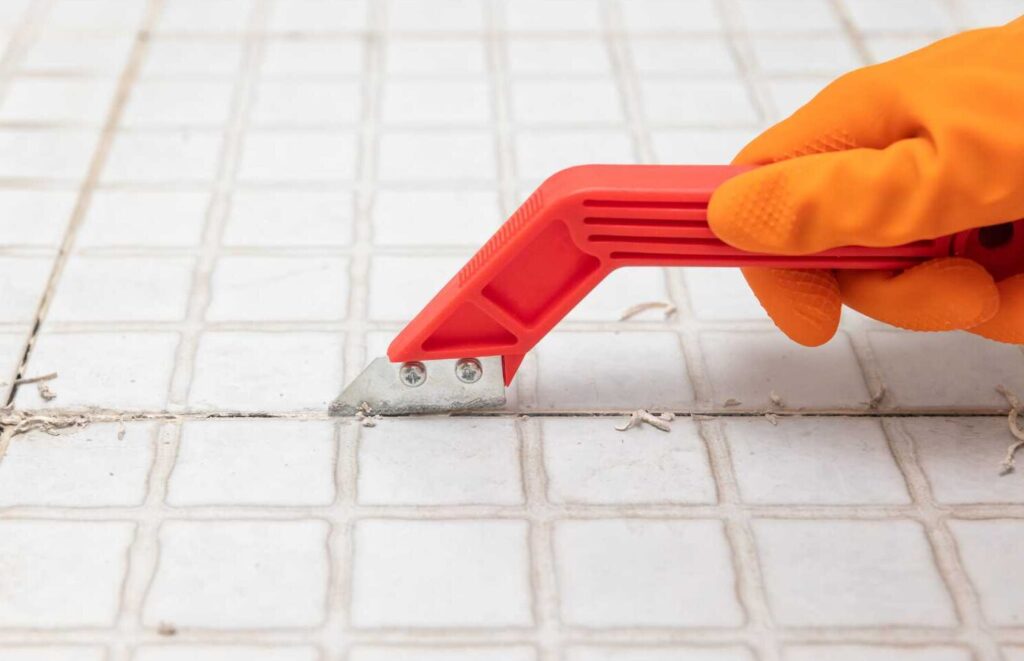
- Step 1: Fix the CracksSealers are liquids, not glue. If you have cracks or gaps in your grout, scrape out the broken parts and patch them with fresh grout first.
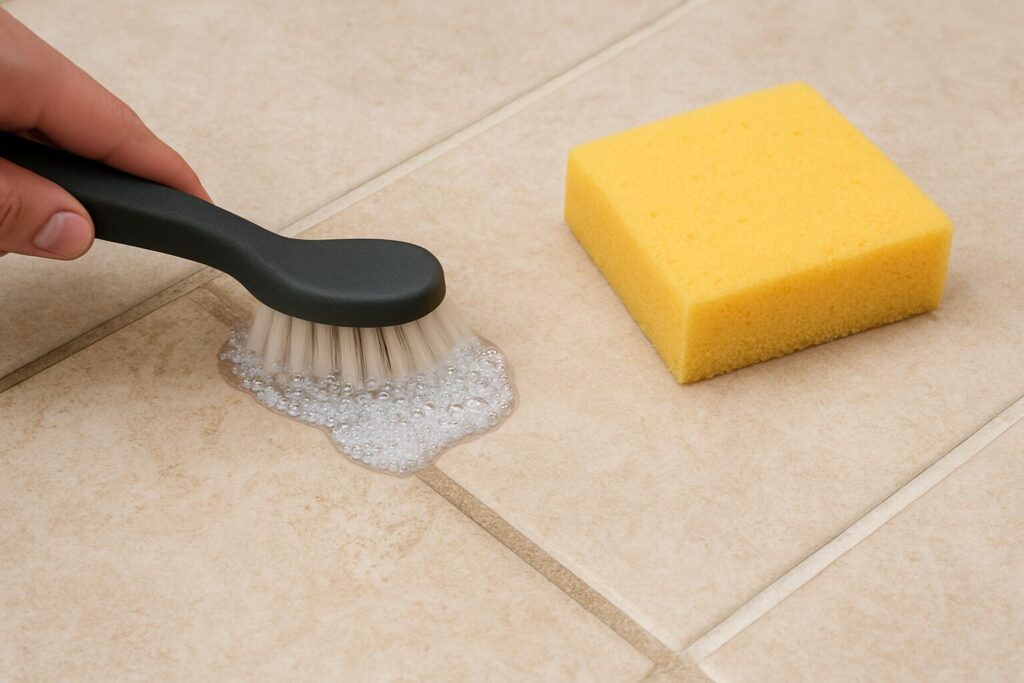
- Step 2: Clean and Let It Dry CompletelyScrub the grout lines clean. Then, wait 24 to 48 hours for it to dry! If you apply sealer to damp grout, you trap water inside, which causes white hazy spots.
- Step 3: Pick a “Penetrating” SealerBuy a penetrating (impregnating) sealer. Instead of sitting on top like paint, it soaks deep down into the pores and blocks water from getting in.
- Step 4: Paint It OnUse a small foam brush, brush wheel, or spray bottle to apply the sealer straight onto the grout lines.
- Step 5: Wipe the Tiles!Let the sealer soak into the grout for 10–15 minutes. Before it dries on the shiny tiles, wipe the extra off with a clean microfiber cloth.
- Step 6: Let It CureKeep the area dry for 24 to 48 hours so the sealer hardens into a strong barrier.
5. The Water Droplet Test
How do you know if your grout is protected? Try the drop test!
Drip a few drops of clean water onto your grout line:
- If it’s sealed: The water forms a tight round bead on top like water on a freshly waxed car.
- If it needs sealing: The water instantly turns the grout dark and soaks in.
(Plan to re-seal cement grout every 1 to 3 years to keep it protected!)